User Groups
Navigation
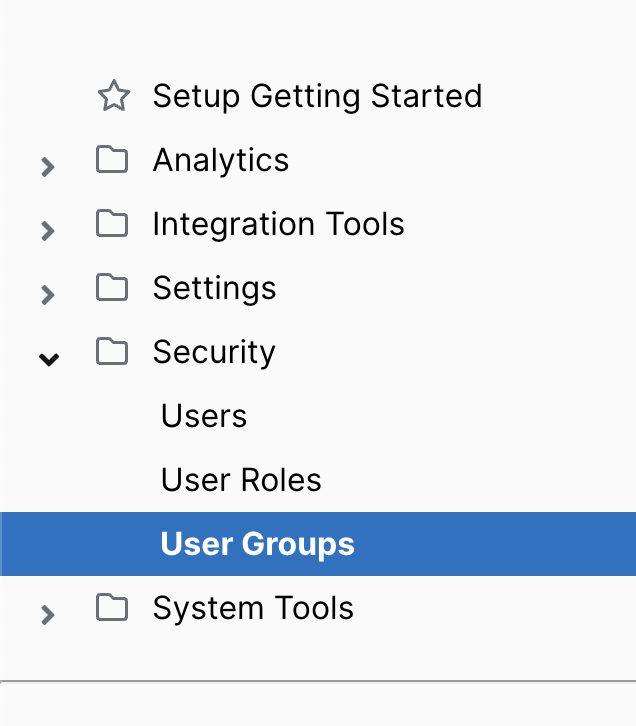
You can create user groups to assign users different levels of security access. This includes limiting access to specific key measures or dimensions, for example, restricting pay data visibility for certain groups. To view existing groups or create new ones, navigate to the Setup section and select User Groups under the Security folder in the left-hand menu.
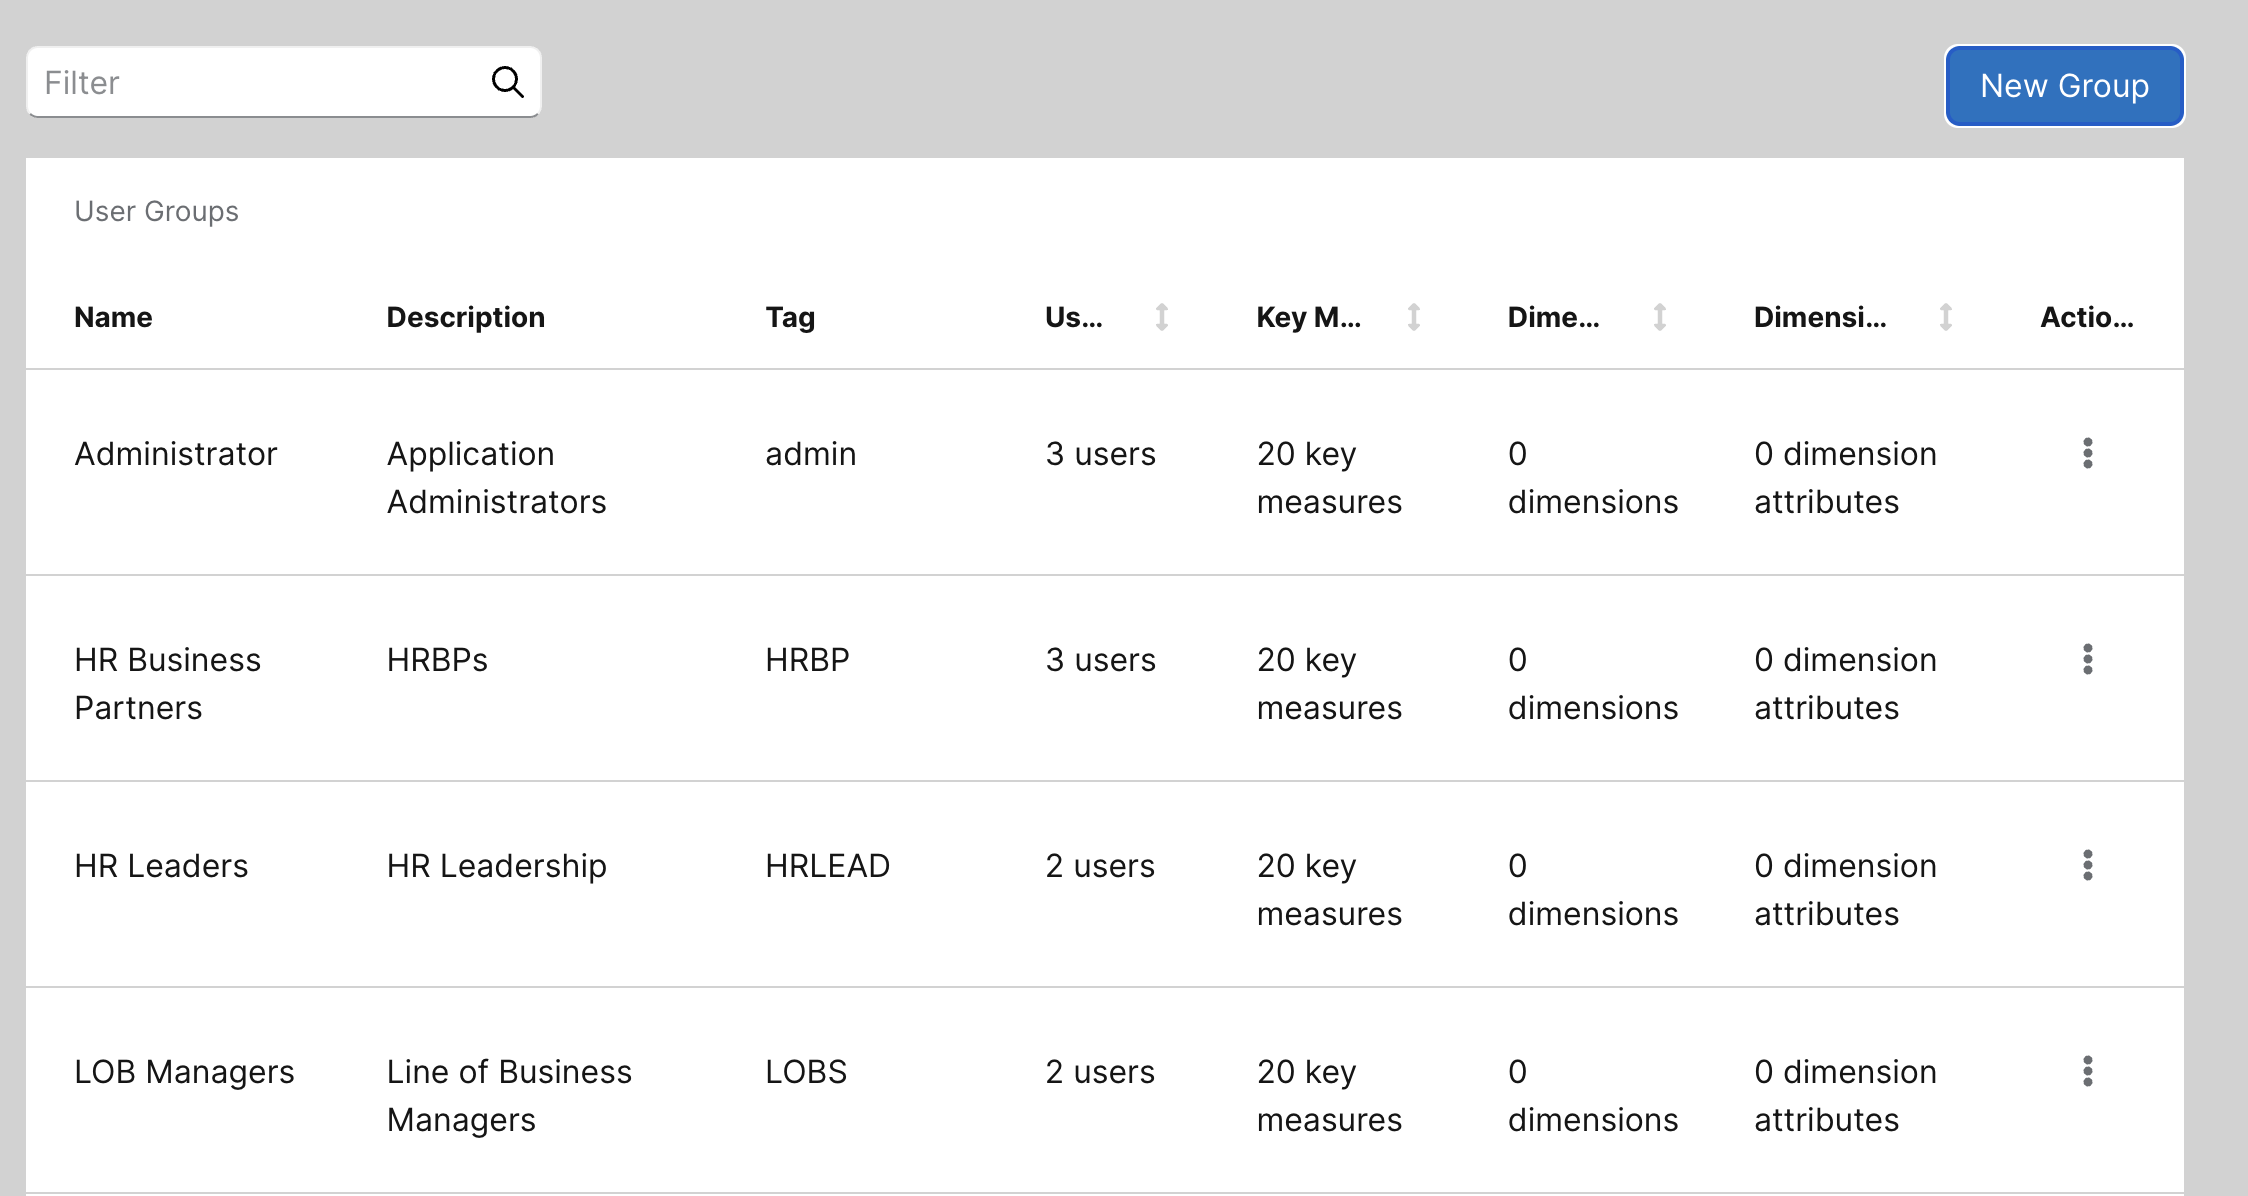
Here, you can view a list of all user groups. The list includes each group’s description, any associated tags, the total number of users, the key measures they can access, as well as any excluded dimensions and dimension attributes. Click anywhere in the row to see a more detailed view.
Creating a new User Group
Click on the New Group icon in the top right.
This will open up a new window where you can select the access rights for this group.
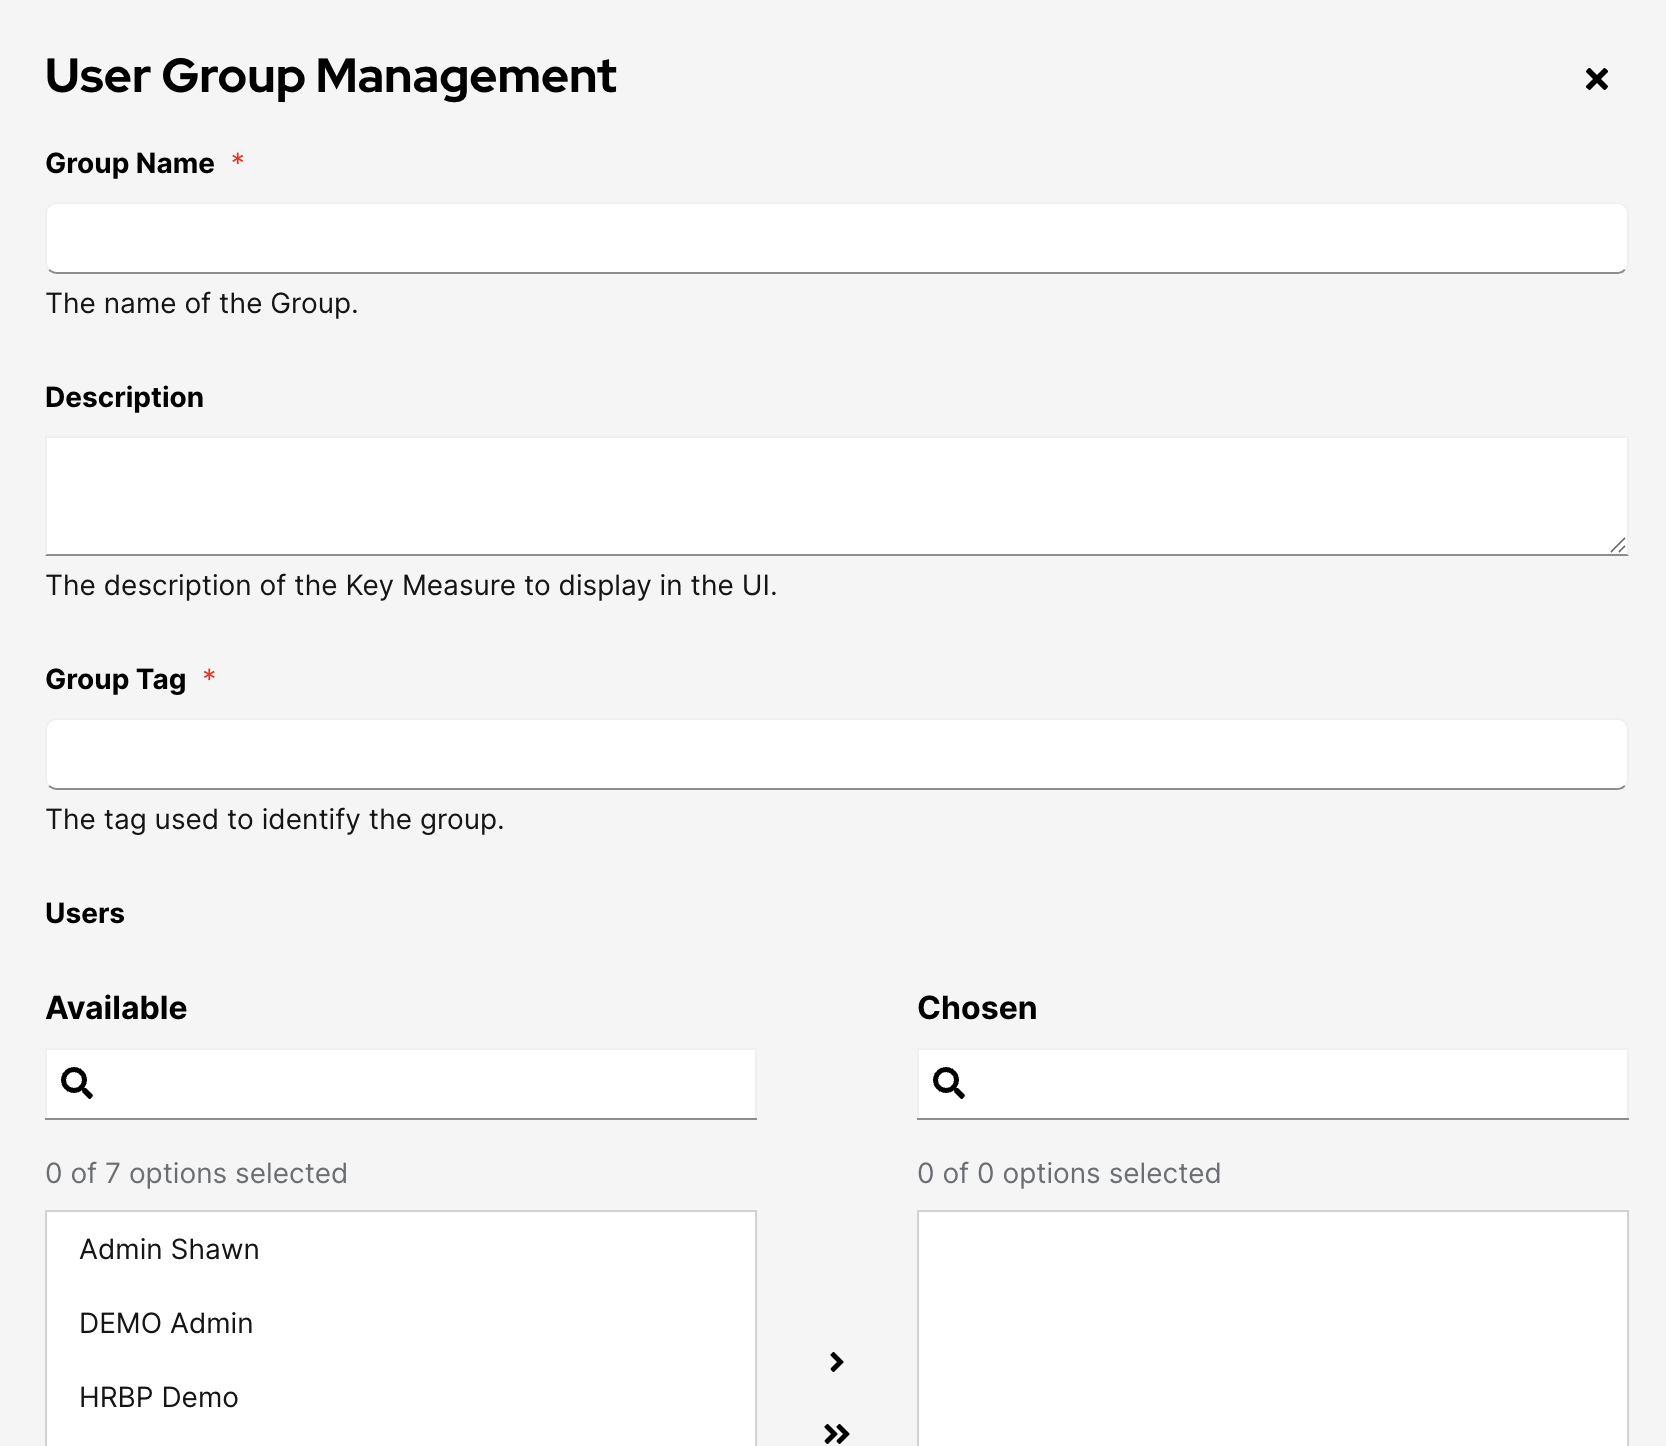
At the top of the page, you can enter the group’s name, description, and any relevant tags. Below that, you’ll see a list of available users that can be added to the group. Users can belong to multiple groups.
To add a user, select their name and click the single right arrow to move them to the Chosen section. To add all users, click the double right arrow. To remove users, select them from the Chosen section and click the left arrow. To remove all users, click the double left arrow.
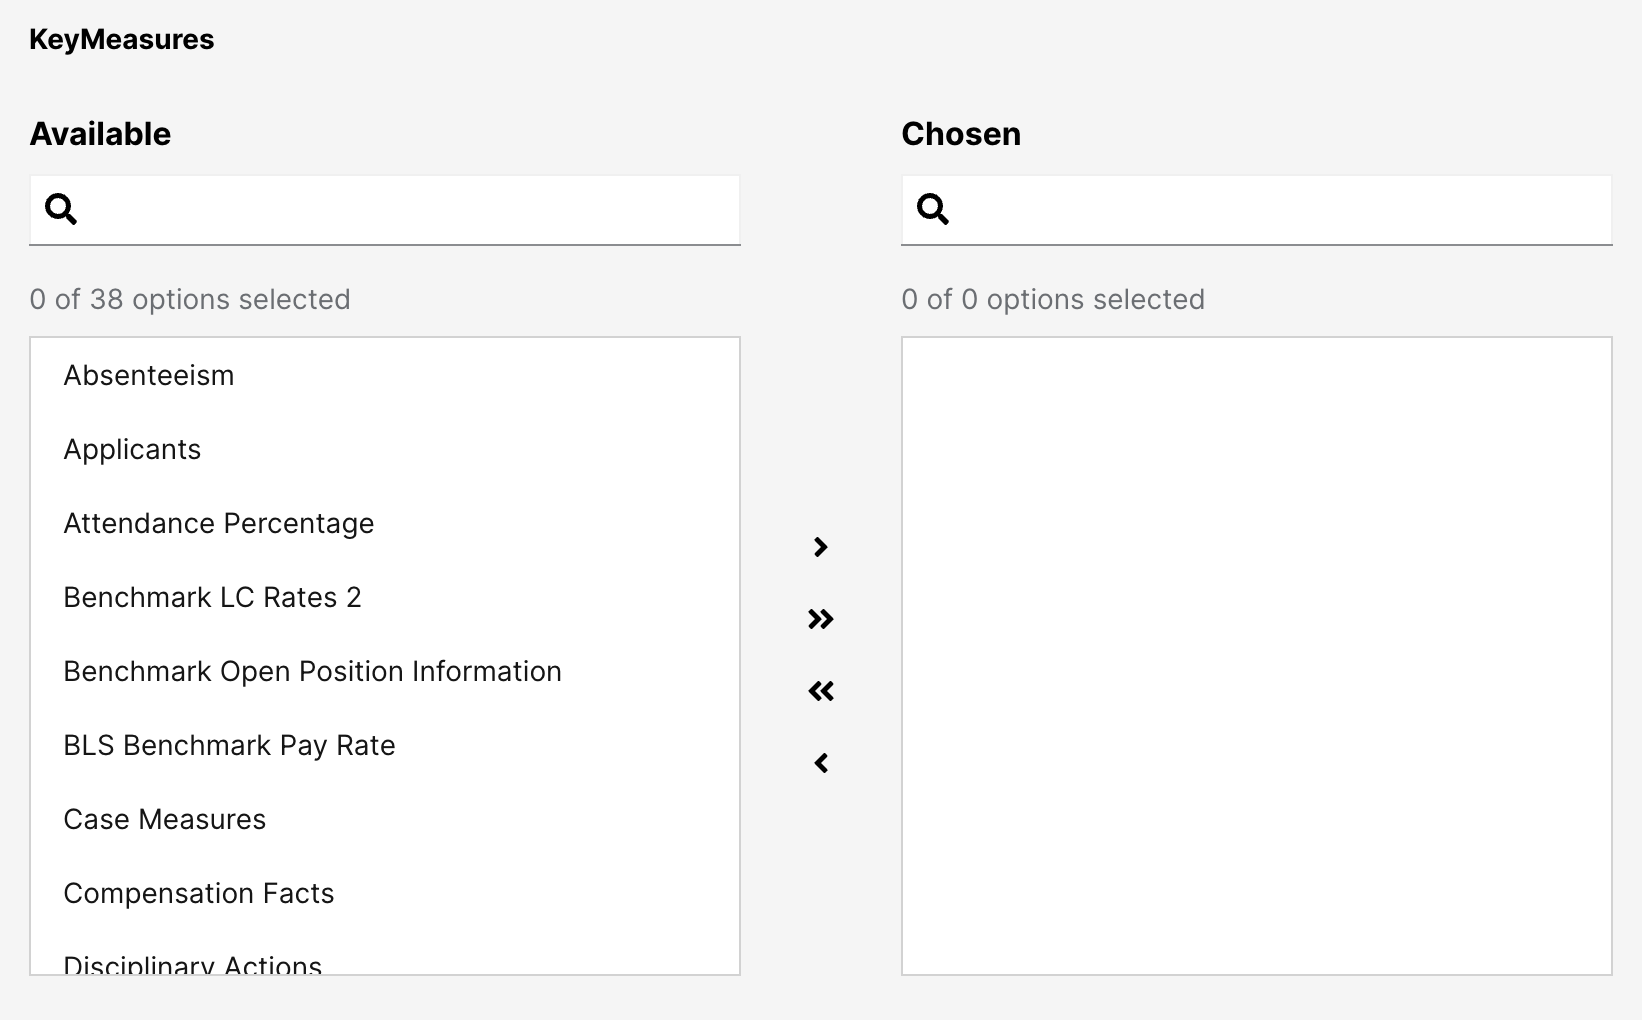
Below that, you can add the key measures you want the group to have access to. The arrow controls function the same way as they do when adding users.
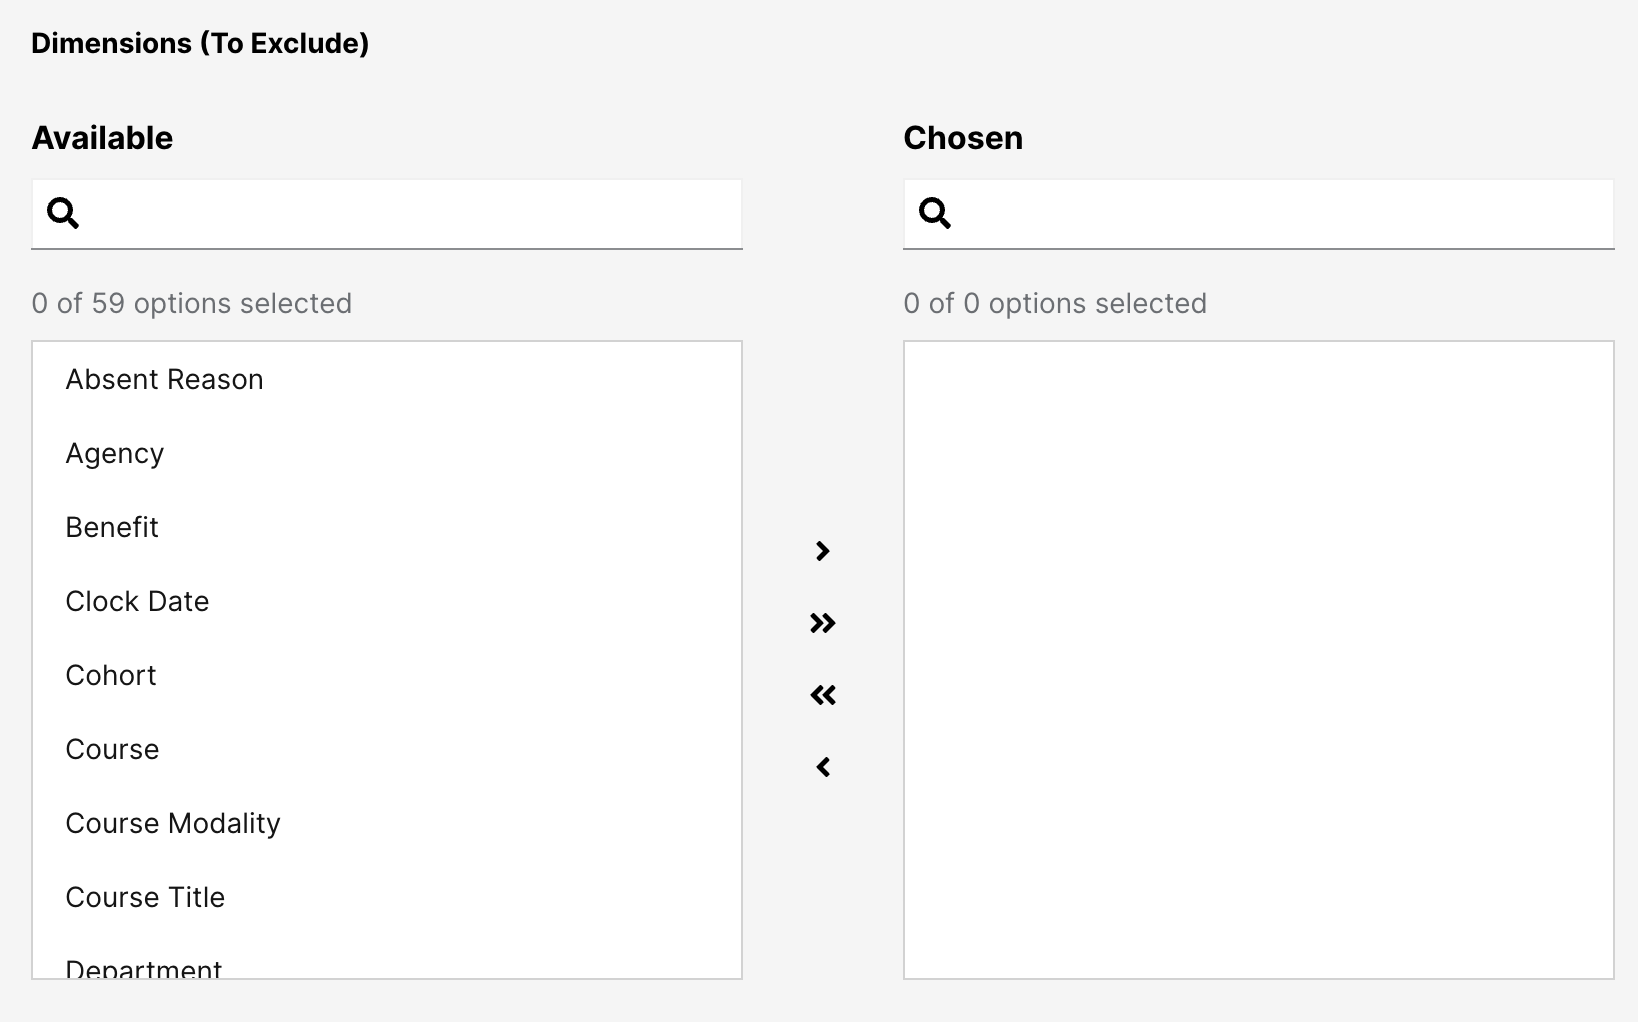
In the following sections, you can specify the dimensions and attributes to exclude. Note that unlike key measures which are included, these settings are used to exclude specific dimensions and attributes from access.
Finally, click Submit in the bottom right corner to create the user group.